
Shaping is one of the most visible signs of a baker’s skill. Even if fermentation is correct and flavor is balanced, poor shaping can result in uneven crumb, weak oven spring, and irregular structure.
Improving your shaping technique will elevate both appearance and internal texture.
Let’s explore how to refine your shaping skills step by step.
Why Shaping Matters So Much
Proper shaping:
- Builds surface tension
- Supports upward expansion
- Controls crumb structure
- Improves oven spring
- Enhances presentation
Weak shaping often leads to:
- Flat loaves
- Irregular air pockets
- Poor scoring results
- Inconsistent crumb
Shaping is not just aesthetic — it is structural.
Step 1: Understand Surface Tension
Surface tension is the outer “skin” of the dough.
A tight outer layer:
- Holds internal gas
- Directs expansion upward
- Creates balanced crumb
Without proper tension, the dough spreads instead of rising.
Learning to build tension without tearing the surface is key.
Step 2: Start With Proper Pre-Shaping
Pre-shaping prepares the dough for final form.
After bulk fermentation:
- Gently divide dough evenly
- Form a loose round
- Let it rest 15–30 minutes
Bench rest relaxes gluten.
Relaxed dough is easier to shape properly.
Skipping this step often causes tearing.
Step 3: Avoid Excess Flour During Shaping
Too much flour reduces grip.
Use just enough flour to prevent sticking.
Excess flour:
- Weakens surface tension
- Prevents proper sealing
- Reduces friction needed for tight shaping
Controlled flour usage improves structure.
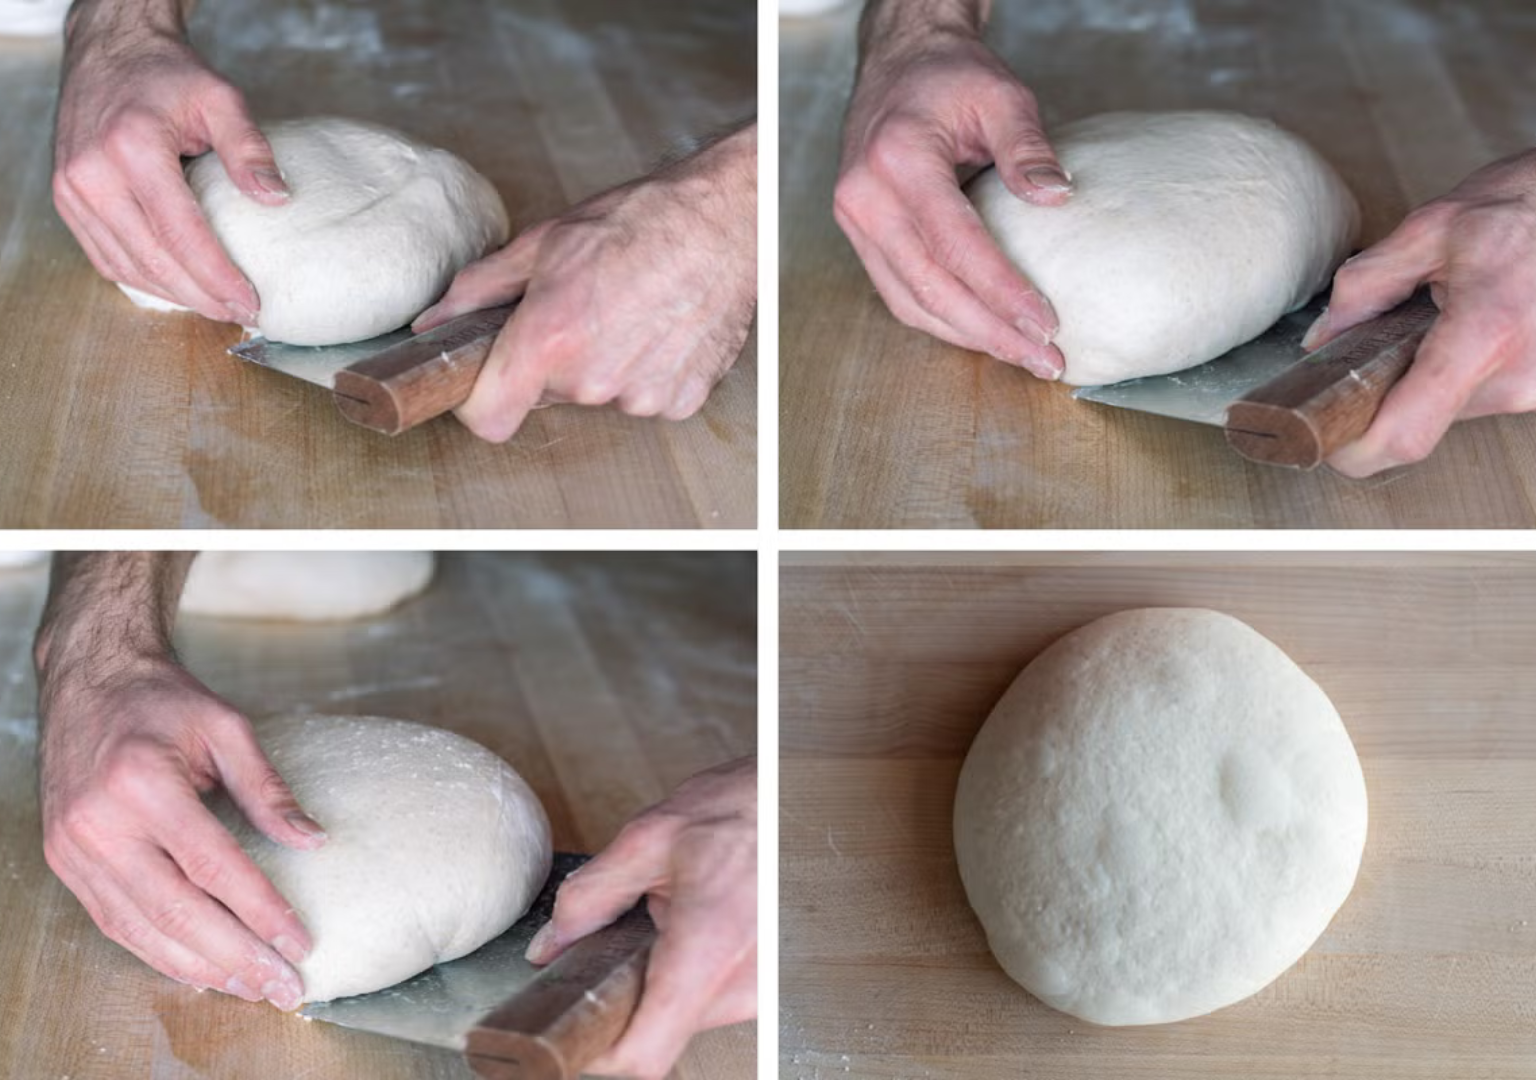
Step 4: Use Confident, Controlled Movements
Hesitation leads to weak shaping.
Move deliberately:
- Stretch the surface gently
- Fold edges toward the center
- Roll or pull the dough across the table to tighten
Confidence builds better tension.
Practice improves fluidity.
Step 5: Match Shaping to Dough Hydration
Higher hydration dough:
- Requires lighter handling
- Needs careful tension building
Lower hydration dough:
- Is easier to shape
- Requires less delicate handling
Adapt technique to dough characteristics.
Understanding dough feel improves shaping precision.
Step 6: Seal the Seam Properly
After shaping:
- Ensure the seam is closed firmly
- Place seam-side down (unless proofing seam-up intentionally)
Poor seam sealing may cause unwanted splitting in the oven.
Controlled seams improve scoring results.
Step 7: Practice Common Shapes
Master basic shapes first:
- Boule (round)
- Bâtard (oval)
- Roll
- Focaccia
Each shape develops different handling skills.
Repetition builds muscle memory.
Step 8: Maintain Even Dough Division
Uneven portioning creates inconsistent results.
Always:
- Use a scale
- Divide dough evenly
- Round pieces gently before final shaping
Uniform weight supports consistent baking time and crumb.
Step 9: Observe the Dough During Final Proof
Overproofed dough loses tension.
Underproofed dough may expand too aggressively.
Proper proofing supports shaping structure.
Shaping and fermentation work together.
Step 10: Evaluate After Baking
After slicing your loaf, analyze:
- Is crumb evenly distributed?
- Are air pockets balanced?
- Is structure symmetrical?
- Did the loaf spread too much?
Evaluation reveals shaping weaknesses.
Every bake provides feedback.
Common Shaping Mistakes
Avoid:
- Overhandling dough
- Tearing the surface
- Using excessive flour
- Skipping bench rest
- Rushing final shaping
Gentle confidence produces better results than aggressive handling.
Building Muscle Memory
Shaping improves with repetition.
Practice by:
- Shaping small test batches
- Repeating the same dough formula
- Recording observations
Over time, your hands will recognize proper tension automatically.
Muscle memory creates efficiency.
Signs Your Shaping Is Improving
You’ll notice progress when:
- Loaves hold shape during proof
- Oven spring increases
- Crumb becomes more uniform
- Scoring expands cleanly
- Surface appears smooth and tight
Improvement may feel subtle at first.
Consistency strengthens gradually.
Final Thoughts: Control Creates Confidence
Shaping is a skill developed through patience.
Build surface tension carefully.
Move confidently.
Respect bench rest.
Adapt to hydration.
Evaluate results honestly.
Professional-looking loaves come from disciplined practice.
As your shaping improves, your confidence will grow — and your bread will reflect your refinement.
Keep practicing.
Keep observing.
Keep refining your touch.
Strong shaping transforms good bread into professional bread.
And with steady effort, your hands will learn to create structure naturally.
Let your technique tighten — and your results will rise.