
Every great baker eventually reaches a turning point: moving from following recipes to creating them.
Developing your own signature bread recipes is a powerful step in your professional journey. It builds identity, strengthens technical knowledge, and can even become the foundation of your future bakery brand.
But creating original recipes isn’t about randomly mixing ingredients. It’s about understanding structure, balance, and controlled experimentation.
Let’s explore how to create signature bread recipes with confidence and professionalism.
Step 1: Master Basic Formulas First
Before creating something new, you must deeply understand classic formulas.
Start by mastering:
- Basic white artisan bread
- Whole wheat bread
- Enriched dough
- Simple sourdough
Learn the ratios.
Understand hydration percentages.
Observe fermentation timing carefully.
When you know how standard dough behaves, you can modify it intelligently.
Step 2: Understand Baker’s Percentages
Professional bakers use baker’s percentages.
This system expresses ingredients as a percentage of total flour weight.
For example:
- Flour = 100%
- Water = 70%
- Salt = 2%
- Yeast = 0.5%
This structure allows you to:
- Scale recipes easily
- Adjust hydration precisely
- Maintain balance
Without understanding ratios, recipe development becomes guesswork.
Step 3: Choose a Clear Direction
Ask yourself:
- Do I want a more open crumb?
- Do I want a richer flavor?
- Do I want a healthier whole-grain profile?
- Do I want a sweeter breakfast loaf?
Your goal determines your adjustments.
Clarity prevents random experimentation.
Step 4: Experiment With Hydration
Hydration influences:
- Crumb openness
- Texture softness
- Handling difficulty
If your goal is a more open crumb:
- Increase hydration slightly (2–3% at a time)
If you want easier shaping and tighter crumb:
- Reduce hydration slightly
Small changes produce noticeable differences.
Always adjust gradually.
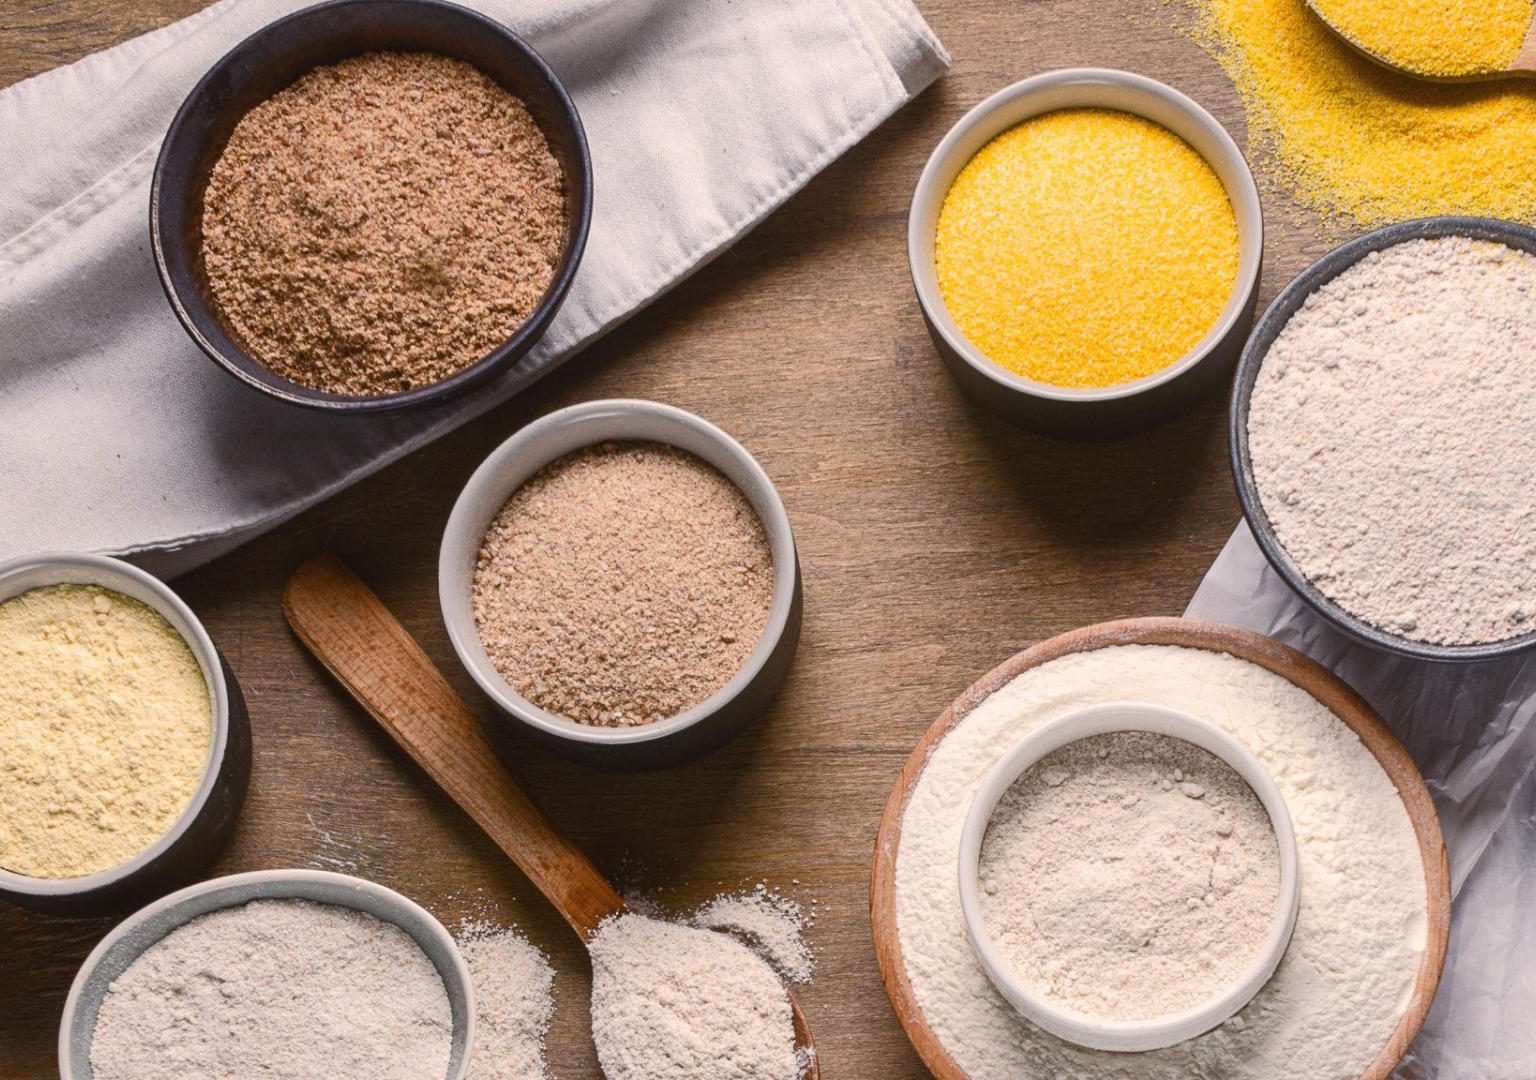
Step 5: Modify Flour Blends Thoughtfully
Flour choice shapes flavor and structure.
You can experiment with:
- Whole wheat flour
- Rye flour
- Spelt
- Stone-ground flour
- High-protein bread flour
For example:
- Adding 10–20% whole wheat increases flavor depth
- Adding small rye percentages enhances fermentation activity
Adjust hydration when adding whole grains.
Whole grain absorbs more water.
Step 6: Play With Fermentation Timing
Fermentation dramatically impacts flavor.
You can experiment by:
- Reducing yeast and extending bulk fermentation
- Introducing cold proofing overnight
- Incorporating sourdough starter
Longer fermentation builds:
- More complex flavor
- Better crust color
- Improved digestibility
Time is one of the most powerful ingredients in recipe creation.
Step 7: Introduce Flavor Enhancements
Signature recipes often include subtle enhancements.
Consider adding:
- Seeds (sesame, sunflower, flax)
- Herbs (rosemary, thyme)
- Olives
- Roasted garlic
- Honey
- Nuts
However, avoid overwhelming the base structure.
Balance is key.
Your signature bread should still have strong texture and fermentation quality.
Step 8: Test One Variable at a Time
Professional experimentation requires control.
Avoid changing multiple variables at once.
Instead:
- Adjust hydration first
- Then test flour blend
- Then modify fermentation
- Then introduce flavor additions
This allows you to understand cause and effect.
Controlled testing builds knowledge.
Step 9: Keep Detailed Notes
After each test bake, record:
- Ingredient percentages
- Fermentation timing
- Dough temperature
- Crumb structure
- Flavor profile
- Customer feedback
Documentation transforms experimentation into refinement.
Over time, patterns become clear.
Step 10: Evaluate Crumb and Crust Critically
Cut your bread and analyze:
- Air distribution
- Moisture level
- Elasticity
- Crust thickness
- Flavor balance
Ask:
- Does this recipe improve on the original?
- Is texture balanced?
- Is flavor distinctive but not overpowering?
Honest evaluation strengthens development.
Step 11: Test Consistency
A recipe is not ready after one successful bake.
Repeat it several times.
Ensure:
- Fermentation timing remains predictable
- Texture is consistent
- Oven spring is reliable
- Flavor is stable
Consistency transforms a test recipe into a signature product.
Step 12: Refine Presentation
Signature bread is also visual.
Refine:
- Scoring patterns
- Shape consistency
- Crust color
- Overall appearance
A distinctive scoring style can enhance recognition.
Presentation strengthens brand identity.
Step 13: Name Your Bread Strategically
A strong name increases memorability.
For example:
- Rustic Country Loaf
- 72-Hour Fermentation Sourdough
- Whole Grain Sunrise Bread
- Rosemary Hearth Loaf
Names should reflect flavor, method, or personality.
Brand identity grows from clarity.
Step 14: Collect Feedback Before Finalizing
Offer samples to trusted customers or peers.
Ask for honest feedback on:
- Flavor
- Texture
- Aroma
- Crust
- Overall impression
Constructive criticism helps refine the final version.
Professional bakers value feedback.
Step 15: Protect Simplicity
Complex recipes are not always better.
Many iconic breads are simple in ingredients but precise in execution.
Your signature bread should:
- Highlight fermentation quality
- Maintain structural integrity
- Offer balanced flavor
Refinement often means simplifying, not complicating.
Common Mistakes in Recipe Creation
Avoid:
- Increasing hydration too drastically
- Adding too many flavor components
- Ignoring fermentation balance
- Skipping documentation
- Launching before consistency is proven
Patience produces better results.
Turning a Recipe Into a Brand Asset
Once your signature recipe is stable, it can become:
- A bestseller
- Your bakery’s identity
- A premium-priced product
- A marketing highlight
Originality builds distinction.
Distinctive products build recognition.
Final Thoughts: Create With Purpose
Creating your own bread recipes is a sign of professional growth.
But creativity must be supported by:
- Technical understanding
- Controlled experimentation
- Detailed documentation
- Consistent testing
Master the basics.
Experiment carefully.
Evaluate honestly.
Refine patiently.
Over time, your signature bread will reflect your style, discipline, and understanding of fermentation.
And when customers recognize your bread by taste and texture alone, you’ll know you’ve moved from following recipes to creating your own identity as a baker.
Keep testing.
Keep refining.
Let your creativity rise — one loaf at a time.